Friday, September 13, 2019

enchanted paper dolls sal

Hi everyone! Thanks for dropping by today. I bet you are really curious about the Enchanted Paper Dolls Sew Along as well as getting your hands on a copy of the pattern. Me too! There was (and still is) a problem with the printing. I had a special edition spiral bound version and booklets printed. The spirals came out fine, but the booklets had problems with the scaling. Over the course of 64 pages, the templates no longer measured what they were supposed to. They were 3,4mm or >1/8th of an inch off. I talked with the printing company, and it wasn't supposed to happen a second time, but it did. So, we all are just going to have to wait patiently for new booklets. It is my honor and commitment to offer you the best quality product for the best price. Hang in there, it will be worth the wait.


So, with this unexpected curve ball in my sew along planning, I have decided to push the entire sew along back two weeks as well. I want to give everyone the possibility to have the hard copy pattern before the sew along begins. That way, you can plan your fabric choices better. This will not be a mystery sew along. The blocks are the same as in the pattern booklet.

I will provide fabric requirements for three different layouts - 2 x 2, 3 x 3, or 3 x 12 blocks if you choose to make a different layout. However, I will not be giving the cutting and assembly directions. The pattern does include a 40" x 40" wall hanging with four blocks of your choice.

Feel free to add the blinkie below to your website or blog if you decide to join in the sew along fun.


Stay tuned for some fall sewing fun! Please join us starting September 29, 2019. Thanks for dropping by!

Monday, September 2, 2019

enchanted paper dolls - the newest collection of mix and match fpp quilt blocks

Hi everyone! Thanks for dropping by! It has been two months since my last blog post. That's right. I almost feel like going to confession by saying that. : ) I am not Catholic though.

enchanted paper dolls image

I've been busy. I have been finalizing my latest mix and match foundation paper pieced pattern. This one is called Enchanted Paper Dolls - A Collection of Angels, Fairies and Princesses. I am truly excited about it too, because it has been in the works for close to one year. Where should I start? Hmm. I think I have to start at the beginning with the Paper Dolls - the Mini Collection.


The original collection contains three (girl) dolls with interchangeable hairstyles, dresses, bodices, arms and legs. It is very simple and easy foundation paper pieced sewing even for beginners. If you are new to FPP, this is a great start for you.

Then I designed a little witch, because I love the different holidays, especially Halloween. I added the cute witch's hat and extended the block outside of the 6" x 9" format. Since this is a "seasonal" item, I offered the pattern as a PDF - instant digital download. There is no hardcopy pattern for this block.


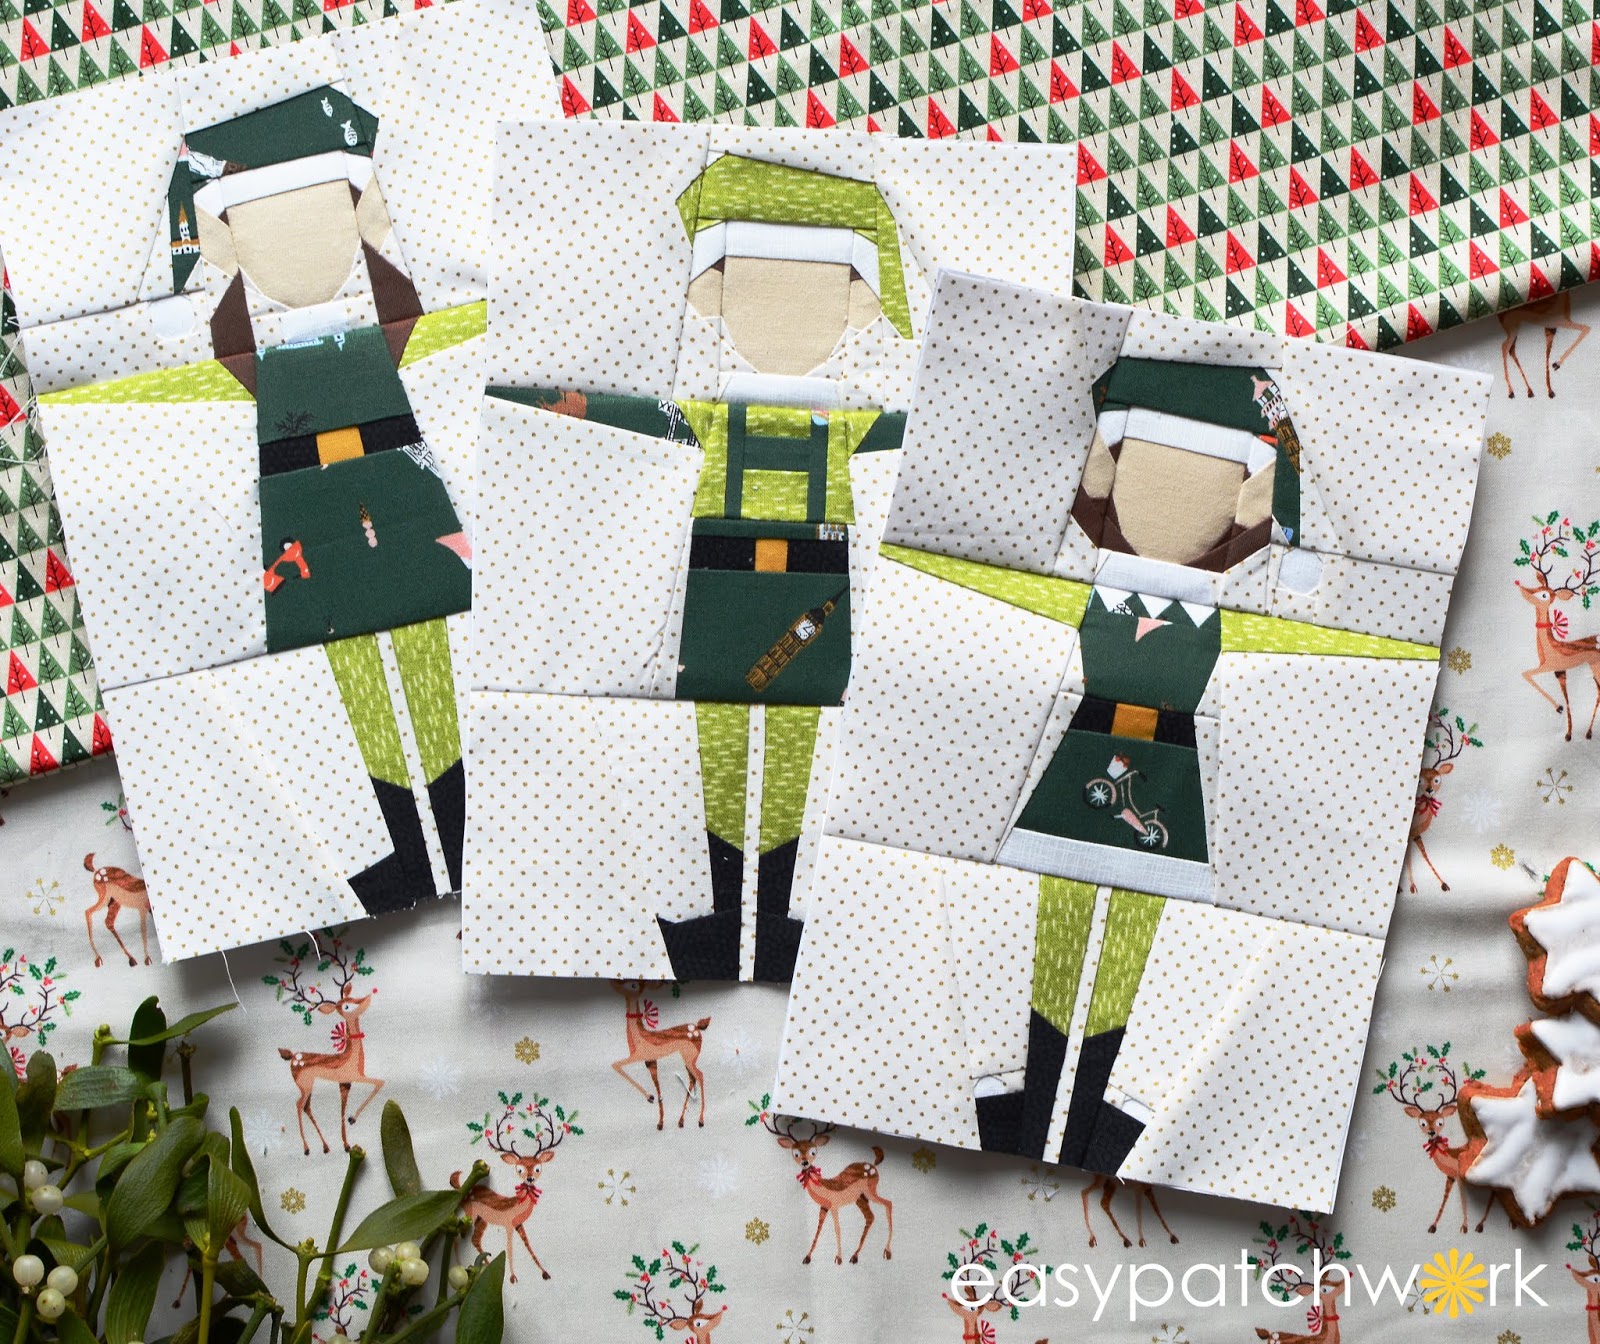
And I just kept going and designed the North Pole Edition with elves and a Santa. It was the first time I added boys into the group!


Then I started thinking about other types of figures and started to play around with angels. I found that they looked best with their hands down to their sides, with a warm and welcoming gesture. One of the challenges was the dress. As you can see below, the angel on the right is constructed in a block format. The other two blocks on the left are constructed with a y-seam. Which one looks better to you? In my opinion, FPP should not distract from the design. The dress on the right being sliced through the middle disturbs me.


A lot of people are also afraid of y-seams. Yes, they can be intimidating, but as long as you know how to sew them together, you won't have problems. They are much easier to sew on FPP templates than a regular pieced block, because all of the points are already marked for you where you should start and stop.


Of course, I could have designed angels and fairies just as stand alone blocks, but I took it is a step further. You can mix and match the figures to create new ones!

The first figure in the series is Agatha. As you might notice, she has a lot of of similarities to the center angel above. With the addition of the crown and the feet and the extension of the wings, I could extend this block to a 12" x 12" standard size. (Most quilts are designed with 12" blocks.)


After creating the four figures, I designed a quilt setting to show them off. I never made a scalloped border and thought this could be "cute enough" to frame the fairies and angels. The scalloped binding was actually much easier than I thought too. Most importantly, the quilt was sent to Birgit Schüller of Creative Bits Long Arm Quilting. She did the most beautiful job at accentuating the fairies.


Here's another look at that scalloped border.


I used fabrics from Art Gallery Fabrics the Signature Collection and mixed in another collection from AGF. For the skin and hair of the figures, I used fat quarters from Sediments from Robert Kaufman - Kona Cotton solids. The binding fabric is a solid from Gütermann.

I could have stopped there. Yes, I really could have, but I just kept going! I designed eight more figures! You can mix and match their crowns, hairstyles, arms, hands, feet, dresses and bodices to create hundreds of different figures or just that right one for you. I added princesses to the pattern as well - for all of those women who need more nobility in their lives.


Here is what's inside the full color, 64-page pattern:
  • Instructions (construction/pressing directions) and full-size templates for 12 stand-alone, 12" blocks
  • Instructions and fabric requirements for 1 quilt ~ 40" x 40"
  • Instructions for the Sunkissed Cross © block using strip piecing
  • Mix and match options to design your own figures
  • Color-coded templates
  • The Y-seam made easy
  • Coloring blocks for your own color schemes
  • Overview with all figures

The 64-page pattern booklet will be available on Sept. 6, 2019 in my Etsy shop as well as other fabric stores. If your store doesn't carry it, ask them to contact me about wholesale orders. If you live in and around Munich and are going to the Patchworkmesse-Erding, you will find the quilt and patterns sold by Verena from einfach bunt Quilts. Hope to see you there!

I am happy to announce, there will be an Enchanted Paper Dolls sew along starting September 15. Each week, a new block will be highlighted. Mark your calenders, ladies and please join us in the mix and match fun!

Thanks for stopping by!
-Karen

Friday, June 28, 2019

show and tell about your mosaic jig medallion quilt

Thanks for joining us for our show and tell portion of the Mosaic Jig QAL. If you were participating, I hope you have caught up on your design and have finished the top to show to all of us? If so, you can link up down below.


I have enjoyed watching your progress and finished quilts over the past couple of months. It makes my heart tingle with admiration and appreciation. I wasn't expecting such a great turnout and was totally floored by seeing all of your beautiful designs! I wasn't expecting that. Thank you!


Here is a reminder of previous posts if you missed one.

Intro
Material and Fabric Requirements (March 1)
Preparation and Cutting Instructions (March 15)
Center Mosaic Medallion (March 29)
Border One (April 12)
Mosaic Blocks (April 26)
Record Blocks (May 10)
Finishing (May 26)
Show and Tell (June 28)*

My quilt is completed and I totally love it! I was a little nervous by giving it away to a long arm quilter, but Birgit Schüller didn't disappoint! She took the design and enhanced it beautifully by accentuating and creating a new design with her award winning quilting abilities. I am so honored to have one of my quilts quilted by her! I look forward to putting the Mosaic Jig Medallion quilt into exhibits so everyone can see just how beautiful it really is in person.


All in all, I am pleased with how it all came together. Often when I design a quilt followed by actually sewing it together, I change some things in the construction or in the process. I don't think I would change anything on this one. Except, maybe I would make that outer border just a little bit wider.


If you are wondering why there isn't a complete circle on the corner blocks, this was intentional. It looks okay when you do this, but I wanted to bring in a little more interest and dynamic to the design.


I shot these photos with my mobile Samsung phone. They are not the best by far, but you do get an impression of the gorgeous quilting. When I have some more time, I will take photos with my SLR. I also realized my photo display (aka curtain rod) in my sewing room is just a little too small for this quilt. You can see it hanging off the end. After the tunnel is completely sewn down, it will be photographed again.


As a thank you to all who participated in the free quilt along, I will be sending out a freebie. Just drop me an email with a photo of your progress, and I will send it out to you. : )

Additionally, all of the free PDF downloads are disappearing after today. You can still read the blog posts, but the PDF's are gone from the website. You can always purchase the complete pattern on Etsy.


Now it is time to share your Mosaic Jig Medallion and tell all about it! Link up below. Thanks for dropping by and have a wonderful summer!

Quilty hugs,
Karen

You are invited to the Inlinkz link party!
Click here to enter