

I asked some of my friends if they wanted to make it along with me, and they were happy to comply, because what is more fun than sewing with your quilty friends!? A big thank you goes out to Katrin, Ines and Andrea for all of your help!
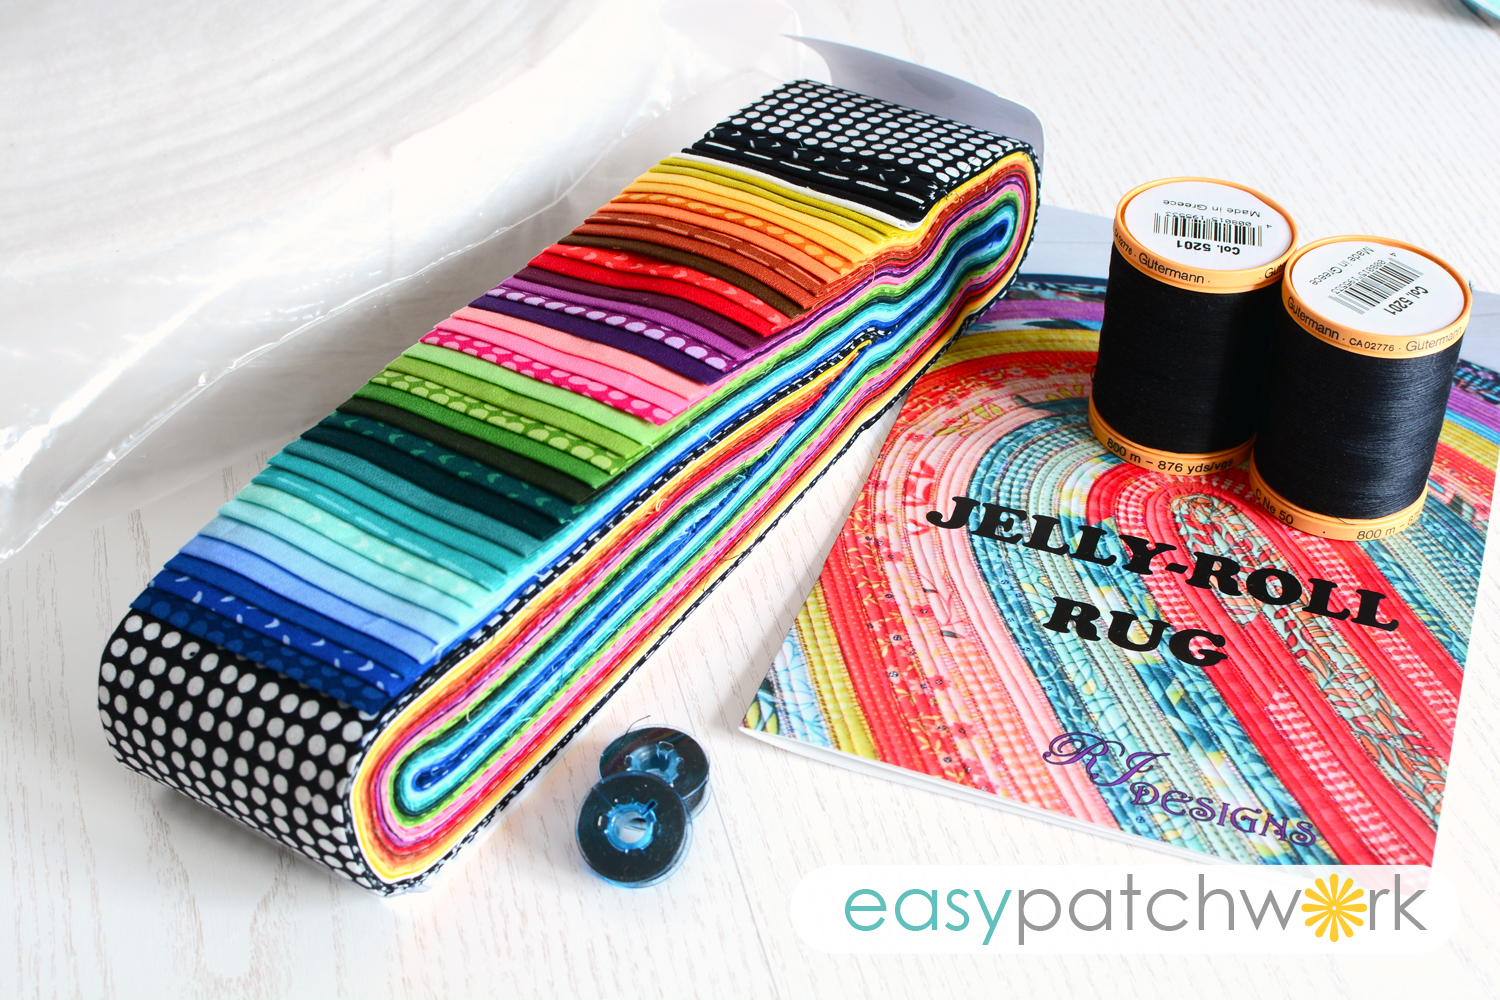
I was given this beautiful collection of Indah Pops (batik) from Hoffman Fabrics. It totally is my style with bright solids, colorful prints and black! I thought It was about time to break it out and use for this project.
If you are reading this post in hopes of not purchasing the pattern and just "winging" it through the information listed here, you will be sadly disappointed. The purpose of this post is to help you make the best possible Jelly Roll (or 2 1/2" strip) Rug with the original pattern. I want to give you some additional tips for you to succeed, because you probably won't be making this a second time.
My first PRE-TIP is for people with allergies. Be really careful with the batting you use. I have allergic asthma and have problems breathing when I work with bamboo batting. I reacted with this batting and my breathing was unfortunately, affected. It may just be a coincidence.
We bought the BLEND batting which does not state what the blend is even though it is "organic." I wrote to the company trying to find out what is mixed in, but they haven't answered my email yet.
These tips are in no particular order.
TIP 1. Fan-fold your never-ending fabric strip!!
I overlooked this in the pattern and honestly, didn't know what it meant! Just fold the strips on top of each other like an accordion or ribbon flowing in the wind.If you think it is better to roll them up, you are terrible wrong. But I wouldn't know that, because I just don't do stupid stuff like that! Ha, ha! There was actually so much cuddle-muddle, I blew off steam several times when untangling the ribbon like a Bavarian at a Maibaumtanz. You can also use a meat cleaver or a vertical paper towel holder to hold the batting if you have one.

TIP 2. Encase your strips and batting using a scant 1/8" of an inch seam allowance.
I used a guided 1/4" presser foot which worked like a dream in this application. I would highly recommend this but find it even better if you use a 1/8" instead if possible. Ines used a 0,5 cm which is still smaller than 1/4".
If you use a 1/4" top stitch, this stitch will be visible when butting the strips together and connecting with a zigzag stitch. Even though I increased the width of the zigzag stitch, it was still visible. Since the fabric is expensive, I would personally prefer to see more fabric instead of thread.

TIP 3 - Use bold and beautiful prints!
Use very pretty and even busy fabric that makes your heart skip a beat. Use the largest prints you can find that you've been avoiding to use for forever. Pull out the Kaffe Fasset fabric hidden deep in your fabric stash. It will work great on this project. Save those solids. If you do use solids, make sure you have a thread that matches the fabric or even invisible (monofil) thread. I wanted to use a variegated thread, but didn't find anything that matched all of the beautiful colors in this strip pack. I decided to be daring and used black. It was very daring! You see everything, especially where I ran out of bobbin thread and backstitched to secure new thread.
TIP 4 - When encasing your batting, work in 5" segments with clips.
Fold towards the center using the batting as a guide and not the fabric strip.
After encasing the first 5" section, go back and clip off in the middle of that section (about every 2 1/2").

Clip off as much of the strip that you can until all of your clips are in use. It makes it more fun to sew when you have large sections clipped and ready to sew. Since the batting will usually be wider (from stretching) than the fabric, use the batting as your guide when quartering and encasing.
TIP 5 - Load up at least 8 bobbins of thread.
If you can do this, then you certainly should. This project using much more thread than you can imagine. I was a little stunned myself, because I already had about four pre-wound bobbins that disappeared quickly.TIP 6 - Clean out the bobbin area EVERY time you run out of thread.
Otherwise you will have tension problems, because there is so much batting and thread from this project collecting there. Take off the presser plate and clean under there and oil the bobbin case as well.TIP 7 - Adjust your thread tension.
Make a scrap mini quilt sandwich using scrap pieces of fabric with batting encased, Set your sewing machine to applique zigzag stitch and adjust the tension (less top thread pull) before you start sewing the coil into a rug. You may even need to adjust the bobbin thread tension to get it right.This is crucial. When the tension is set correctly, you shouldn't have to constantly iron this monster. I didn't starch the rug at all. I did iron once in the beginning to get around the first two curves. The iron was turned off after that.Yes, you read that right. I DID NOT IRON.
TIP 8 - Use a new 80/12 or 90/14 Top stitch Quilting Needle.
Start with this when you start sewing the strips into a ring. Considering how much you sew on this project and how much wear and tear that needle is getting, you will probably be throwing it away afterwards.TIP 9 - Use a quilting table/platform and books to keep the rug level as much as possible.
This starts to get bigger quickly and you want to concentrated on sewing together the coil. You do not want to worry about the rug flopping everywhere and you sew off of your seam. When you get a big section of rug in your lap, fold it over slightly onto the quilting table.

TIP 10 - Maneuver the rug with your hand and elbow when rotating in the machine.
Sorry, there is not photo of this; I was heavily concentrated. : ) Do not pull but rather push and guide under the needle while rotating simultaneously. This whole process reminds me of quilting a quilt. You will get an exercise workout and your shoulders will feel a little tight afterwards.BONUS TIP: After the rug is made, you will have additional strips left over if you use a pre-cut Katahdin On-a-Roll. You can actually make your rug bigger by adding about eight more 2 1/2" strips to the length. Do this before you start to make your coil.
I asked my girlfriends what their tips were. Here's their advice:
______
Katrin's Tip:
Use an even-feed (Obertransport) foot when sewing. Do not pull or shift the fabric.Ines' Tip:
She has an upcoming blog post in German. You can read it here.____
Rug Statistics:
Time making the entire rug: 18+ hoursSize: 28" x 46 1/2"
Fabrics: One Indah Pops (40) different 2 1/2" strip of Me + You by Hoffman Fabrics
Batting: Bosal Katahdin On-a-Roll, 100% Organic Cotton Blend
Thread: min. 8 bobbins polyester thread used. Cotton top thread was not counted.
Cost: ~90 € without sewing time (in Germany)

I am very content with the way the rug turned out. The colors make me smile especially, because they are not in color order! It is a light and colorful rug. It makes a great accent in my sewing room too.
If you would like to make a jelly roll rug, I hope these tips will help you to make that perfect rug with your favorite fabrics. If you have any questions or would like to add your own tips below, we all would be very happy to read them. Thank you. Enjoy your weekend.
-Quilty hugs,
Karen
Liebe Karen,
ReplyDeletevielen Dank für die vielen Tipps!!! Das Vlies liegt schon bereit und nun werde ich den Teppich definitiv angehen. danke vor allem für den Tipp mit den Stoffen. Da werde ich mal schauen, was ich nehme.
LG Rike
Liebe Rike,
Deletegern geschehen. Das freut mich zu hören. Viel Spaß beim nachnähen. : )
LG, Karen
Liebe Karen,
ReplyDeletevielen Dank fürs zusammen schreiben deiner Tipps! Auch wenn es gefühlt ewig gedauert hat die "Schnur" herzustellen hat es zusammen mit Freunden sehr viel Spaß gemacht! Der Teppich selber ist dann im Vergleich dazu sehr schnell gewachsen. Ich hab ja eine kleinere Version gemacht, habe 24 Streifen vernäht und dafür etwas mehr als eine kleine Rolle vom Vlies verbraucht. Ich freu mich schon aufs nächste Nähen zusammen mit Euch.
LG
KATRIN W.
Liebe Katrin,
Deletedas hat Spaß gemacht. Ich hoffe beim nächsten Treff, bin ich die GANZE Zeit da. :) Dein Teppich passt perfekt im Zimmer, das du ausgesucht hast. :) Bis zum nächsten mal.
LG, Karen
Liebe Karen,
ReplyDeletedas hast Du wunderbar zusammengefasst. Ich will auch noch ein wenig weiterexperimentieren. Ich habe die fixe Idee, dass ich einen Tischläufer machen will.
Liebe Grüße
Ines
PS: Ich mag Deine Farbwahl sehr!
Hi Ines! Ich versuch auch neue Ideen hier einzubringen. >>Was kann ich mit dem Restevlies machen?<< frage ich mich selbst. : ) Und kann man auch andere tolle Zierstiche statt ein Zig-zag-stich verwenden? Hmm..? Danke für das Vorbeischauen. Ich freue mich auf unsere nächsten Treff! LG, Karen
DeleteI have long wanted to sew or crochet a rag rug. One day, I will have time. This pattern appeals because it looks like a great way to use batting offcuts.
ReplyDeleteHi Carla! We have an "American traditional braided rug" in our living room. I truly love it and thought this newer version could spice up my sewing room. It is great for a bathroom, because it is cuddly and soft. Be careful with those wadding cutoffs! If you trim them down, your rotary blade will dull quickly and your cutting mat will be hard to manage. Yikes! Have fun it you make one. Kind regards, Karen
DeleteI took a class with a friend a couple years ago and neither one of us could figure out how to start the quilt properly, so the balls of fabric had just sat there. They concentrated too much of making the ball in the class and not enough time was spent teaching us how to start the rug so that it laid flat. So, we have finally decided to tackle this project once again. I wish I had seen your tips back then because I didn't use a 1/8" seam, I used 1/4". I can see from the pictures you provided that 1/8" definitely shows more of the fabric. Right now, my girlfriend is having trouble with her needle/stitches using a Jean Needle. I did some research online and lucked onto your tips. I forwarded that information to her and she's going to have a much better time starting her rug now; I just know it. We both will. I feel like I need to re-sew my strip and start over. Maybe the next rug? Not sure I could handle ripping it all apart at this point.
ReplyDelete